Feb 21, 2025
How to Import Contacts in Naqood – A Step-by-Step Guide
Having all your customers and suppliers in one platform makes it easier to manage invoicing, track expenses, and stay compliant with VAT regulations. Instead of adding contacts one by one, importing them in bulk saves time and reduces errors. Follow this step-by-step guide to quickly and efficiently transfer your contacts to Naqood.
Thinking About Moving Your Accounting to Naqood?
Are you considering moving your accounting to Naqood and want to bring your contacts with you? With Naqood, you can easily import your existing customers and suppliers in just a few steps! In this guide, we’ll walk you through exactly how to do it.
It doesn’t matter which accounting software you’re moving from. As long as you can export a CSV file (Excel) from your current system that includes all customer details, you can import those contacts directly into Naqood. This ensures a smooth transition, allowing you to keep all your important client and supplier information in one place without the hassle of manual data entry.
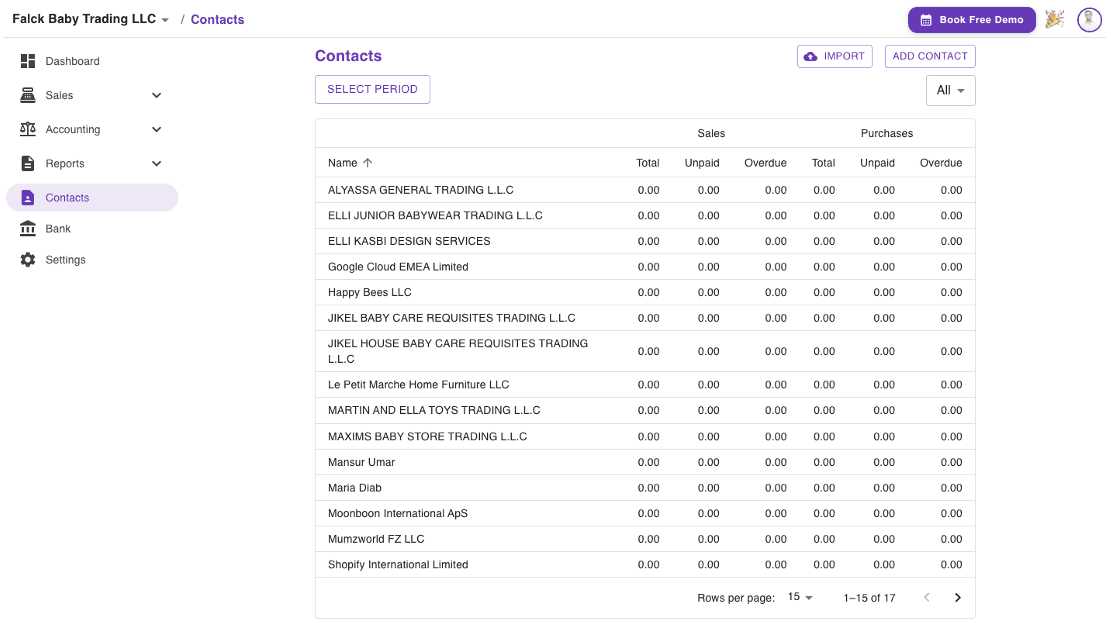
What Are Contacts in Naqood?
In Naqood, Contacts refer to both customers and suppliers. Keeping an organized contact list allows you to efficiently track financial transactions, automate invoicing, and ensure that key tax details, such as the Tax Registration Number (TRN), are stored correctly. Importing your contacts helps eliminate manual data entry errors and ensures that your records are accurate and up to date.
How to Import Contacts in Naqood
Step 1: Navigate to the Contacts Menu
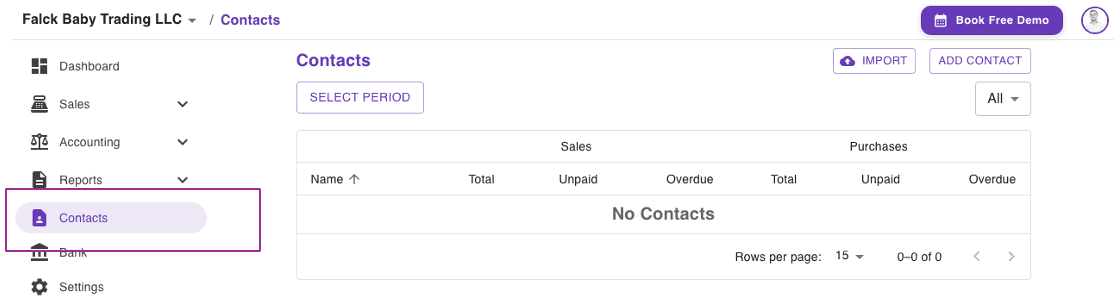
To begin the import process, log in to your Naqood account and access the main dashboard. From there, navigate to the Contacts menu, where you can manage all your customers and suppliers. This is where you can either add contacts manually or import them in bulk.
Step 2: Click on the Import Button
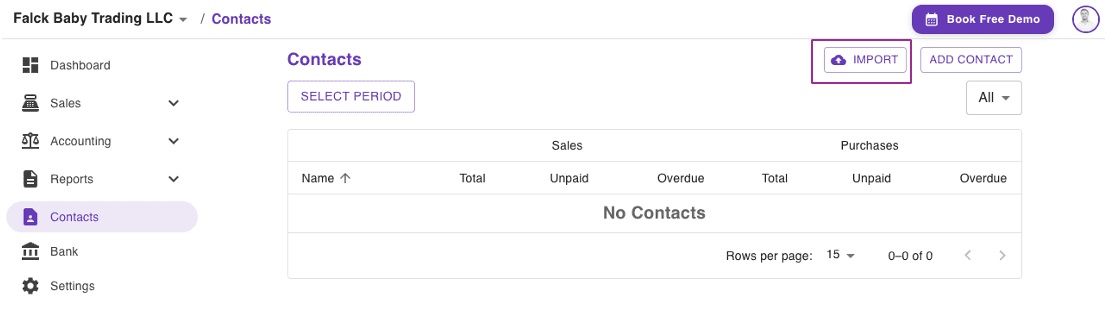
Once inside the Contacts section, locate the Import button and click on it to start the upload process. This feature allows you to add multiple contacts at once, making it significantly faster and more efficient than entering them individually.
Step 3: Download the Contact Template

Before uploading your contacts, ensure they are formatted correctly. Click on the Download Template button to get the official Naqood import file. This file is pre-formatted with the necessary columns and ensures that all contact details align with the system’s database.
Step 4: Fill Out the Template with Contact Information
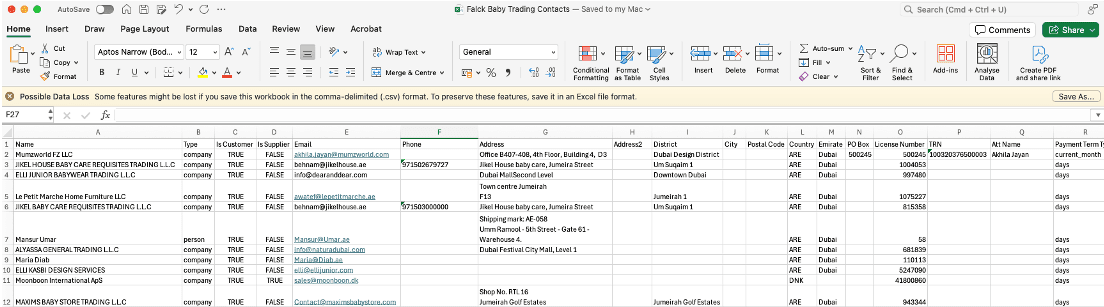
Once you have downloaded the template, open the file and begin entering the details for each contact. The required fields include:
Name – The name of the customer or supplier.
Type – Specify whether the contact is a Company or a person
Customer or supplier – Specify whether the contact is a Customer, Supplier, or Both.
Email – Enter the email invoices should be received on.
Phone – Enter the contact number.
Address – Enter the full business or personal address.
Country – Enter their Country code, you can find the codes when adding a manual contact.
Emirate – If country is UAE, remember to add the Emirate for VAT purpose.
License Number – If applicable, enter the business license number.
TRN (Tax Registration Number) – If the contact is VAT-registered, include their TRN.
Payment terms – The payment terms you have with your customer or supplier.
Default Account - Add a default account to automatically assign their transactions to that account in the purchase module.
Make sure all information is entered correctly before saving the file. Any errors at this stage could affect the accuracy of your financial records and tax reporting later on.
Step 5: Review the Imported Contacts
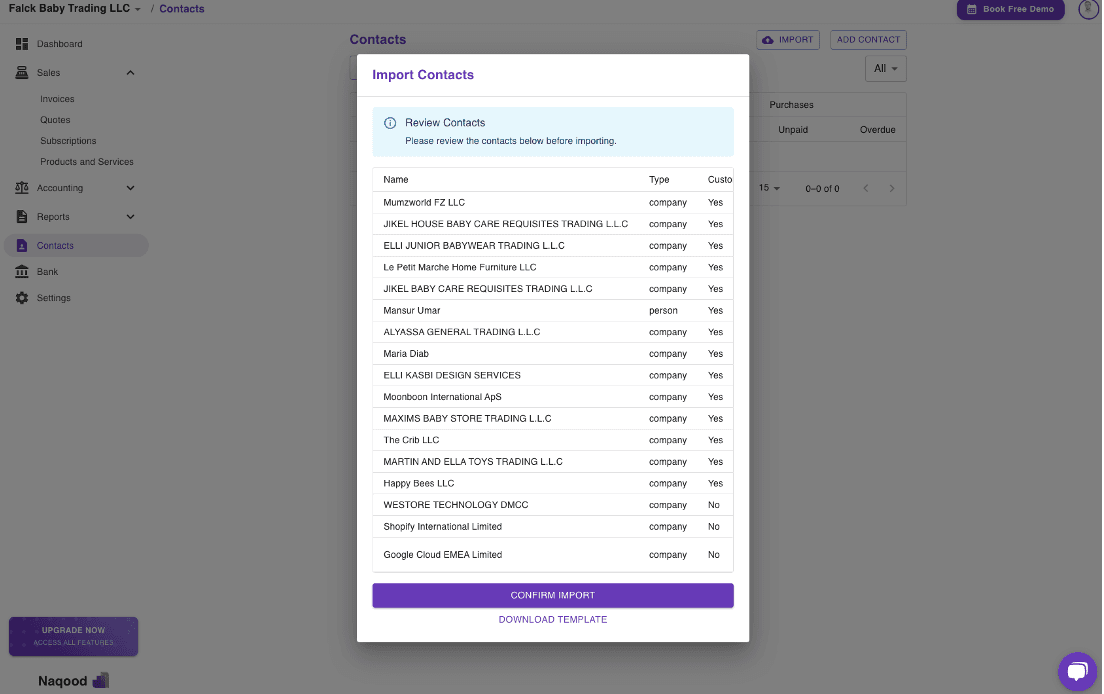
Once your template is complete, return to Naqood and upload the file. The system will automatically extract the data and display a preview of the imported contacts. Carefully review this list to ensure all details have been captured correctly. If any errors or missing information appear, make the necessary corrections before proceeding.
Step 6: Confirm and Finalize the Import
After verifying the imported data, click the Confirm Import button to complete the process. Your contacts are now successfully added to Naqood and are ready to use for invoicing, expense tracking, and VAT reporting.
Why Importing Contacts in Naqood Saves Time and Reduces Errors
Manually entering contact information for every customer and supplier can be time-consuming and prone to mistakes. By importing contacts in bulk, you eliminate repetitive data entry, minimize human errors, and ensure that all financial records are properly organized.
Having a structured contact list within Naqood also makes invoicing faster, simplifies VAT reporting, and improves overall financial management.
Additionally, storing TRN and license numbers within each contact ensures that your invoices and tax documents remain compliant with regulatory requirements. Whether you’re running a small business or managing multiple clients, importing your contacts will help you work more efficiently and focus on more important tasks.

About the author
Christian Falck, a 2018 Copenhagen Business School graduate with a Master's in Finance and Accounting, also excelled at Columbia University in Corporate Finance. With 11+ years in accounting, his accounting firm won 3x Børsen Gazelle awards consecutively. Since 2021, he has been based in Dubai.

